This will be a loosely tracked journey of the rebuilding of my 4L60E transmission in my 2001 Cheverolet Suburban LT.
A one and a two and a… No third.
My 2001 Chevrolet Suburban had always been a reliable workhorse, but one issue persisted – its transmission leaked fluid while running. As part of my regular “pre-flight” checks, I’d top off the transmission fluid before any trip. On my most recent drive, I thought I had done just that. But either I didn’t fill it enough, or the leak had finally worsened to the point where it expelled more fluid than usual.
For those unfamiliar, the 4L60E transmission is sensitive to fluid levels. Low fluid means low line pressure, high temperatures, and erratic or improper shifting, all of which accelerate wear. If you’re lucky, the clutch material will fail first, triggering limp mode and giving you a chance to pull over safely. That’s exactly what happened to me. I managed to coast off the highway in 2nd gear, praying I wasn’t over-revving the engine. Eventually, I got the Suburban towed to my sister’s house, where the real work began.
Step 1: Transmission Removal
Removing the transmission was no small feat. Here’s the process I followed:
- Lifted the vehicle and secured it on jack stands.
- Removed the driveshaft.
- Took off the frame crossmember supporting the transmission.
- Disconnected the O2 sensors and removed the exhaust crossover Y-pipe.
- Unhooked the parking brake cables and various electrical connectors.
- Removed the starter to access and unbolt the flywheel from the torque converter.
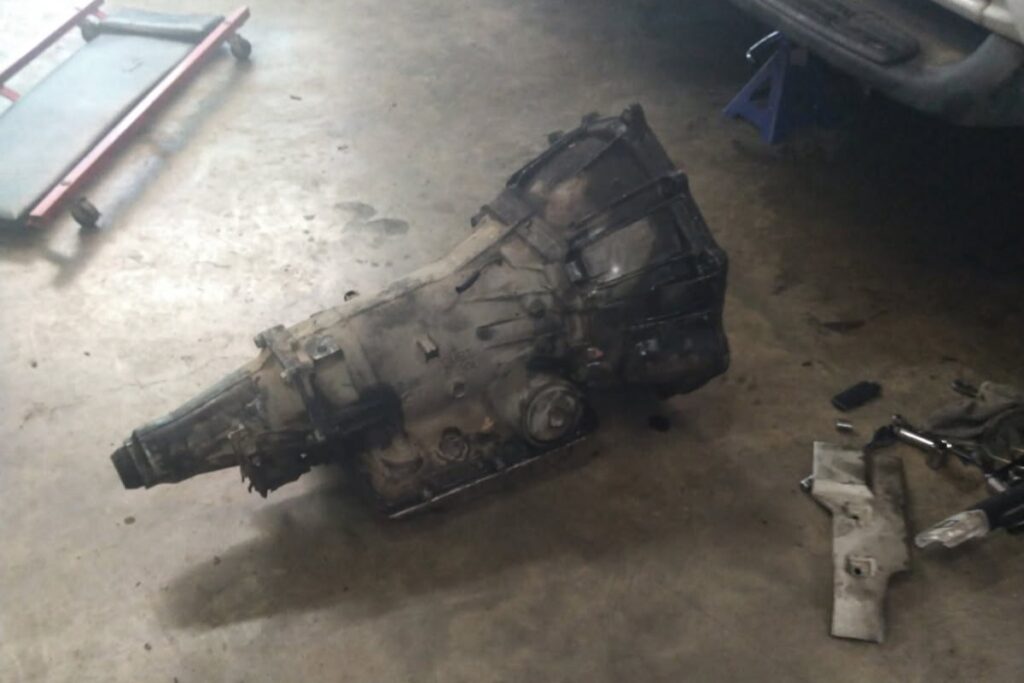
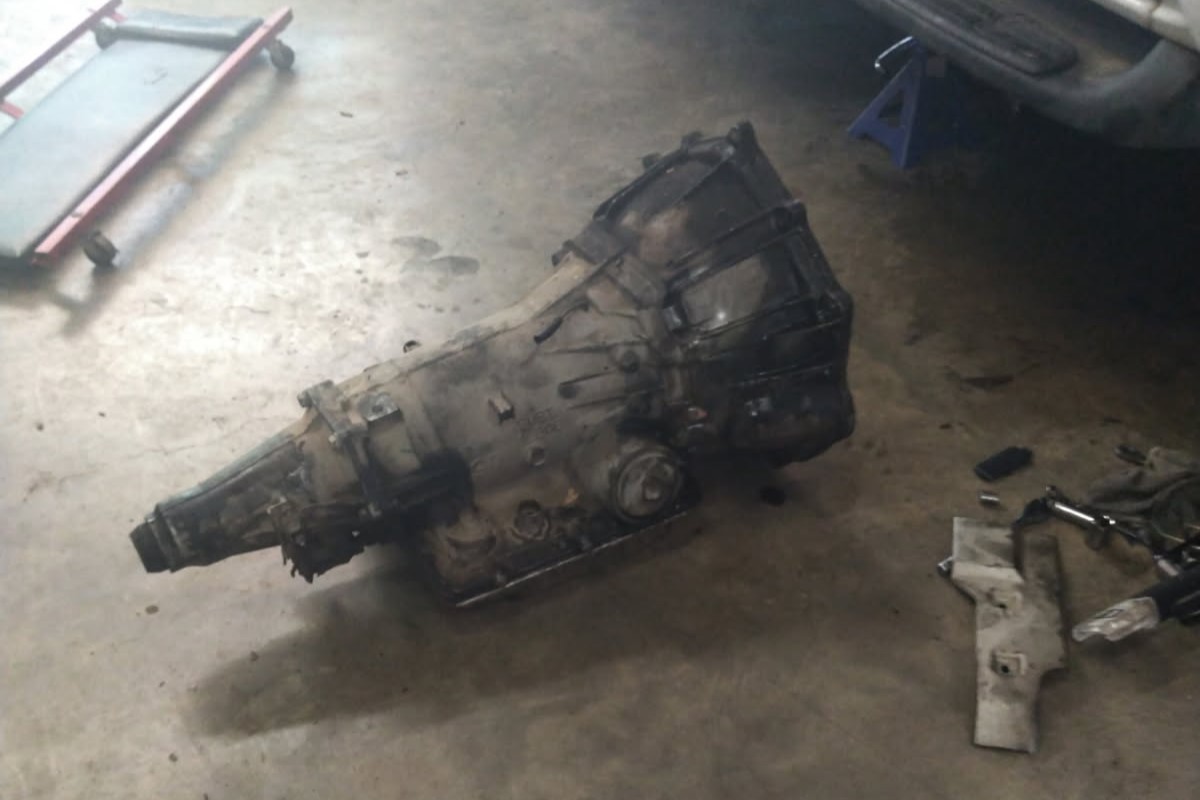
- Using over two feet of extensions and swivel joints, I reached the bolts securing the transmission to the engine and lowered it with a transmission jack.
Even after draining the fluid, the torque converter and internal passages held onto several quarts, making the whole assembly weigh well over 100 lbs. It was a workout, to say the least.
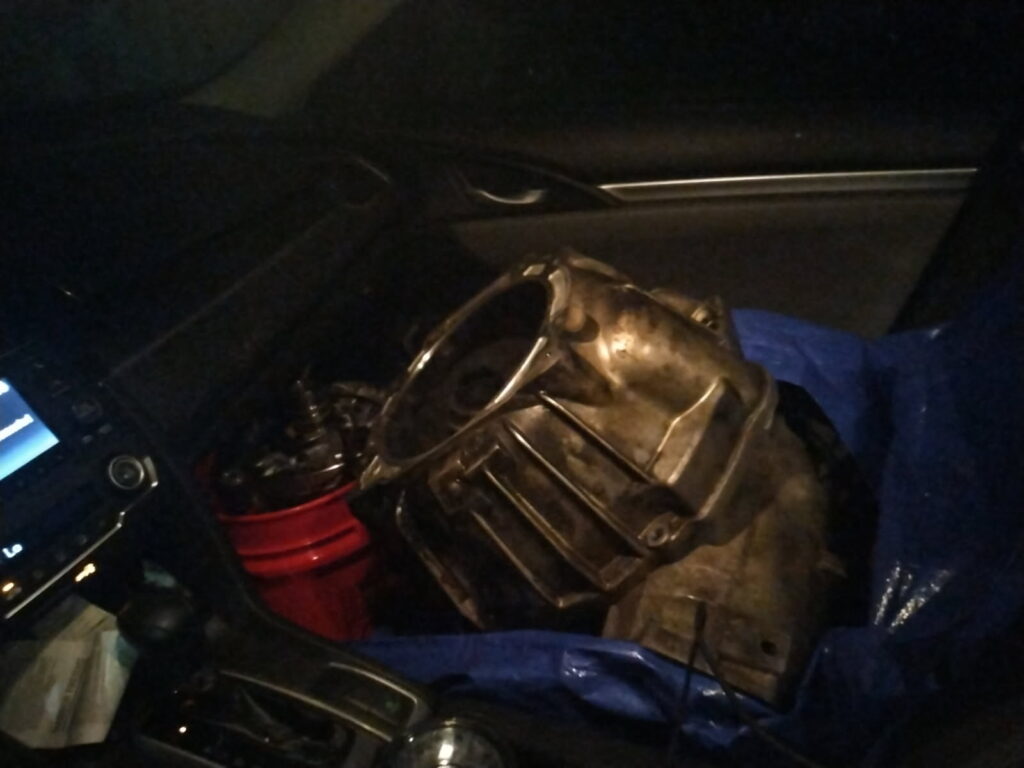
Bell Housing Adapter Woes
Disassembling the bell housing was unexpectedly tricky. The adapter was held on with Torx Plus bolts, a slightly different faster than the standard Torx. I didn’t have the correct bit and ended up stripping three bolts. A master mechanic told me that with enough torque and impact, a regular Torx might work, but that wasn’t the case for me.
To see the difference between Torx and Torx plus, check out the following for an in-depth explanation!
https://www.finepowertools.com/hand-tools/torx-vs-torx-plus/
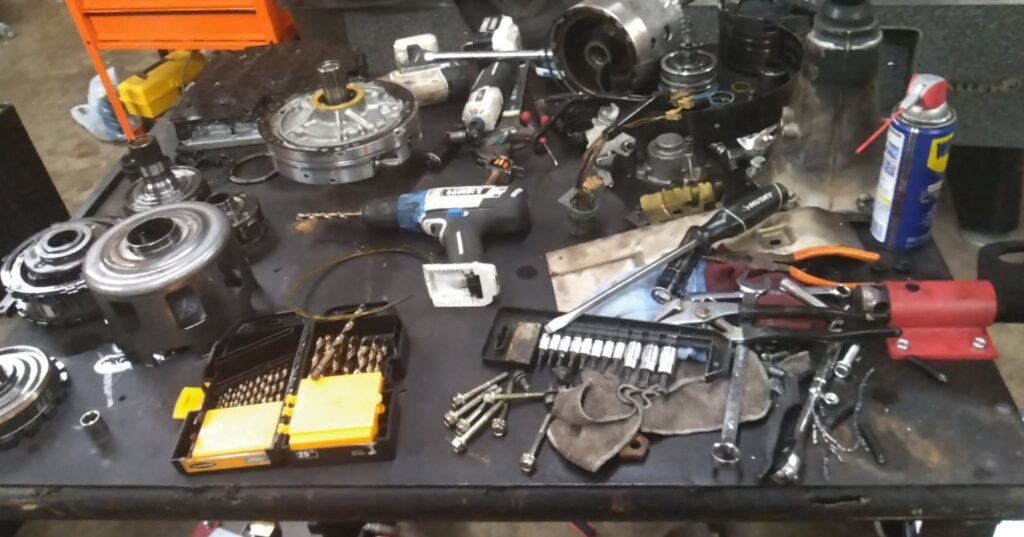
Once I got the proper socket, the remaining bolts came out easily. I used cobalt drill bits to remove the stripped bolt heads and finally got the bell housing off. Vice grips helped me extract the remaining studs. Lesson learned: next time, I’ll have the right tools on hand.. and maybe a torch for stubborn bolts.
Final Thoughts
This rebuild is still in progress, but I’ve already learned a ton. From the importance of fluid levels to the value of having the right tools, every step has been a lesson. I’ll be sharing more as I continue the rebuild.
Next up (on Dragon Ball Z! 😂): inspecting and replacing the 3-4 clutch pack and any parts that are needed along the way.